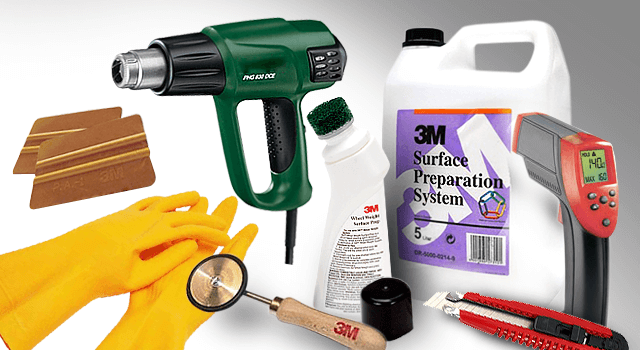
We will list what tools you need to wrap your car with a self-adhesive cast film for digital printing.
First step of application process is the most important:
Clean perfect the surface
Cleaning and preparing the surface is the most important part of the film car wrap. The surface beneath needs be thoroughly cleaned to allow the adhesive bond be strong. So you must clean the car from dust and dirt.
3М also have a range of products for the preparation and cleaning the car surface. Here they are:

Take advantage of them.
The proper 3М tools
These are the tools 3M recommend to be used for all vehicle graphic applications. Make sure you have a sharp cutter blade to ensure clean easy cuts of the film.

In this video you will see a unique 3M adhesive technology that allows to reposition the film on the car surface (Controltac™). The film adhesive layer has microscopic glass beads that keeps the adhesive away from surface whilst positioning the film, so the film can be reposition on the car surface. The film that is installed by our 3M friends at this video is 3М IJ380 Controltac Film – a film for digital printing. It is applied easy to the most hard to wrap parts of the vehicles (complex curves) of veto vans. The 3М print film has a reposition ability which helps when you need to apply big pieces of graphic printed film.
“Always work towards an exit point to allow the air to escape!”
After the cast film is applied at the proper position on the recess it need to be heated again. We do it again to ensure there is no air in the channel of the recesses. Remember to heat the film to a minimum temperature of 80°C!
- Cleaners to prepare the surface
- Rubber gloves to apply the film
- An infrared thermometer to measure the temperature of the film
- A squeegee for hard bonding
- A heat gun to ensure the film not to wrinkle at the recesses
- A roller applicator to smooth the surface in recesses


